
How to Paint Trim, Doors, and Baseboards Like a Professional
Trim painting is where most DIY paint jobs show their age. Learn the surface prep, caulking, masking, and finish choices that keep edges tight and paint lasting.
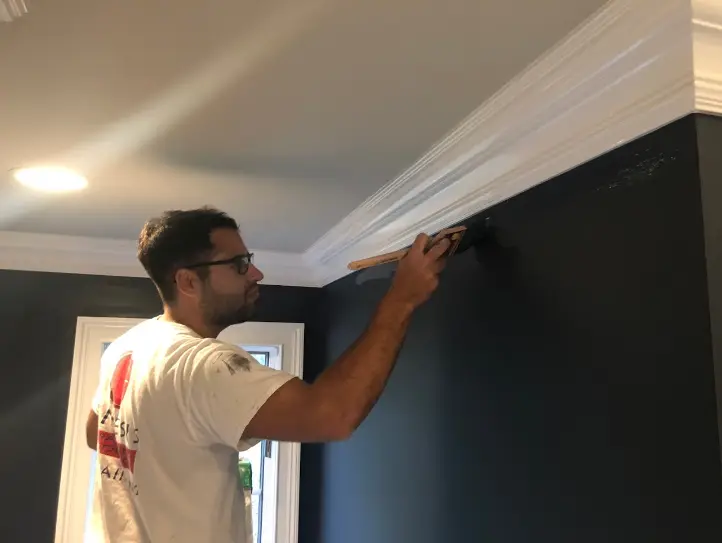
Trim work separates a paint job that looks good in photos from one that looks good up close. The baseboards, door casings, window frames, and crown molding take more contact than the walls (fingers on door frames, feet near baseboards, furniture brushing against casings) and they show wear first. Getting them right requires a different approach than rolling a wall.
Why trim fails faster than walls
Trim and walls move at different rates. Wood expands and contracts with humidity, especially around doors and windows where the frame is structural and connected to the building's movement. Paint that hasn't been applied over properly cleaned, sanded, and caulked wood will crack at the seams and peel at the edges within a year or two regardless of the product used.
The finish matters too. Flat and matte finishes absorb moisture and abrasion. Trim needs a semi-gloss or satin: something that can be wiped down and that holds up to repeated contact.
Surface preparation
Clean the surface first. Trim collects oil from hands, dust from baseboards, and cooking residue near kitchens. A degreaser cuts through what a damp cloth won't. Let the surface dry completely before sanding.
Sand before priming. Glossy surfaces need scuffing so the primer has something to bond to. 120-grit followed by 220-grit gives a smooth base without removing material from the profiles.
Fill gaps and nail holes. Wood filler for holes, paintable caulk for the joint between the trim and the wall or the trim and the floor. The caulk joint is what makes the line look crisp: without it, paint bridges a gap that will open up and crack within a season.
Prime bare wood. Any raw wood, old repairs, or areas where the existing paint was stripped down needs a primer coat before the finish. Skipping this step causes the finish to absorb unevenly and flash differently across the surface.
Masking and protection
Professionals mask carefully or cut a clean line freehand. Both approaches require the edge to be exactly where the wall and trim meet: pressed down firmly so paint can't bleed under the tape.
For baseboards, running a thin bead of caulk along the bottom where the baseboard meets the floor (if it's hardwood or tile) keeps paint from wicking under and staining the floor surface.
Choosing the right finish
- Semi-gloss is the traditional choice for trim: durable, washable, and it holds a clean edge well. It reads as a slight sheen without being reflective.
- Satin is slightly less shiny and forgives surface imperfections better than semi-gloss. Works well on door casings and window frames in spaces where you want the trim to blend rather than pop.
- High-gloss is appropriate for front doors and stair railings where durability is the priority. It shows every imperfection in the substrate, so prep has to be thorough.
Application
Roll trim only if the profile is flat and wide enough. For most casings, door frames, and baseboards, a 2- to 2.5-inch angled brush gives better control and a smoother finish than a small roller.
Work in the direction of the wood grain where there is one. On MDF profiles, work in long, even strokes without overworking the wet paint: MDF raises its grain slightly with moisture and can pill if the brush goes over the same area too many times.
Two coats are standard. The first coat seals and builds; the second coat covers and finishes. Light sanding between coats with 220-grit knocks down any raised grain or bristle marks and gives the second coat a clean surface to adhere to.
Doors
Doors get the most contact of any painted surface in the house. Panel doors have a specific painting order (panels first, then stiles and rails) that prevents lap marks from drying before the adjacent section is cut in.
Hardware goes back on last. Painting around hardware is visible on close inspection and makes future hardware changes harder. Removing the hinges, handles, and locksets takes fifteen minutes and produces a cleaner result.
Planning a painting project?
Book a professional, no-pressure consultation with Genesis Pro Painting.
Schedule a Consultation